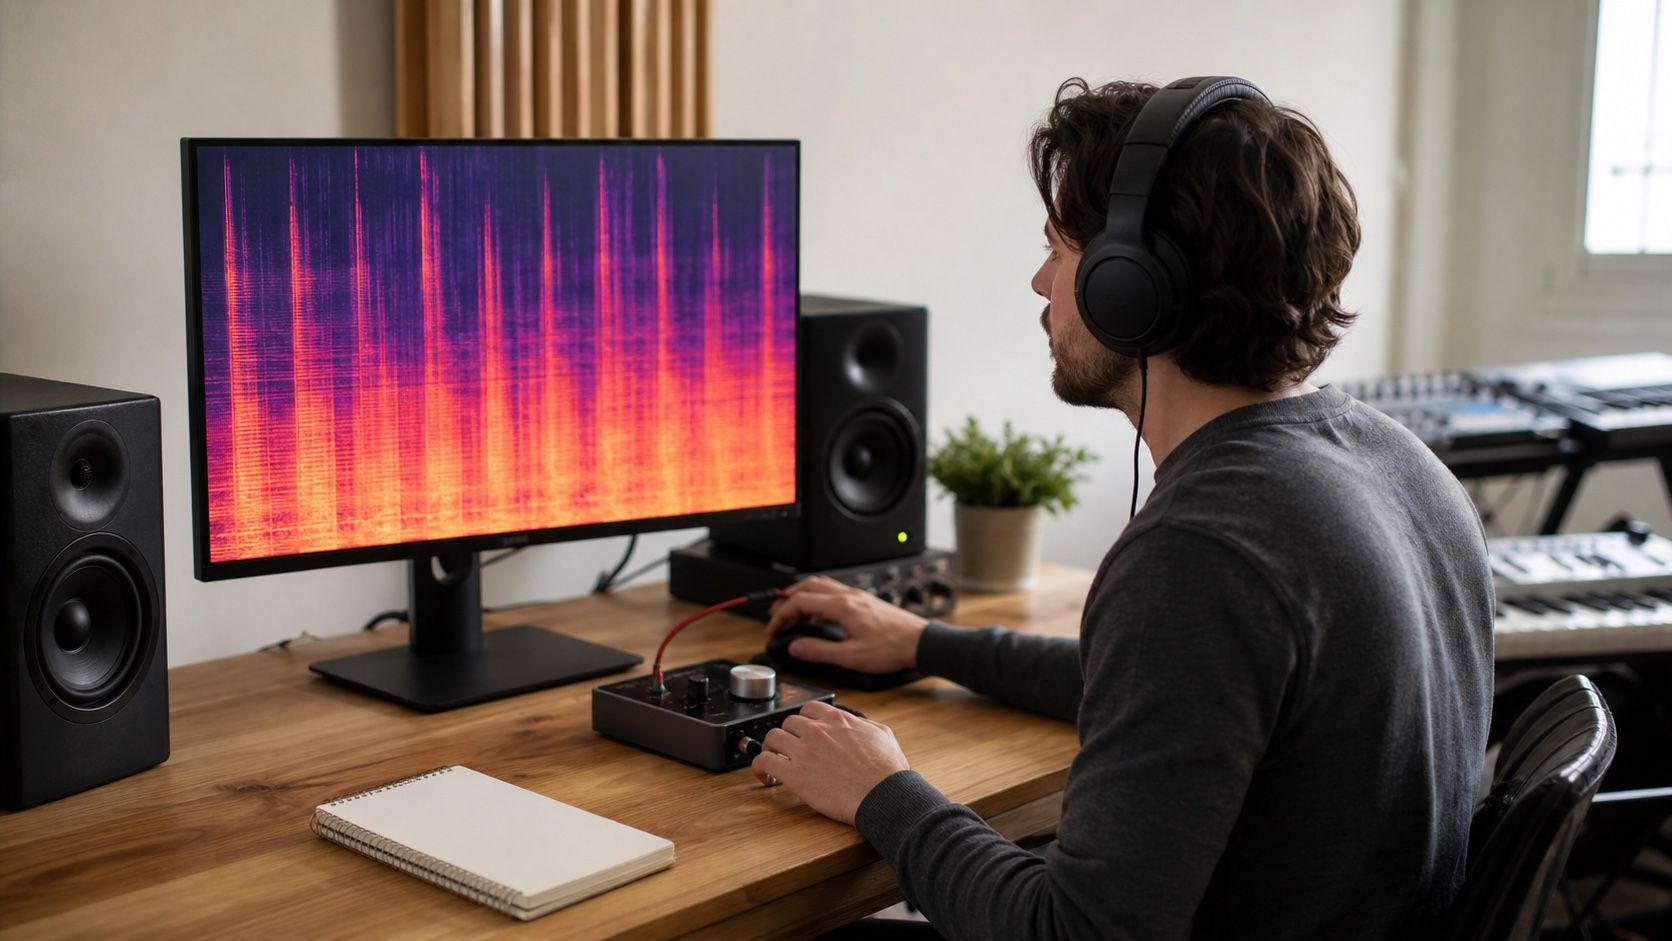
A WAV spectrogram is the cleanest starting point when you want to inspect a track without adding another layer of compression confusion. It will not tell you whether a song is original, professionally mixed, or magically recoverable, but it can show useful repair clues: quiet noise between phrases, clipped blocks, high-end rolloff, sudden clicks, and the difference between a real fix and a prettier display.
Why WAV is the cleaner inspection file
WAV is useful because it is usually the full-resolution working file, not because the format has mystical authority. If you export a repair pass as WAV, open it in a spectrogram, and compare it with the previous WAV using the same settings, you remove one common source of doubt. You are not wondering whether a high-frequency cutoff came from MP3 encoding or whether a smeared edge appeared during a platform conversion.
That matters with AI music and Suno repairs. A generated track may already have brittle highs, synthetic vocal texture, and busy ambience. If you inspect a lossy copy first, you can confuse codec marks with the defect you meant to fix. A WAV spectrogram gives you a calmer baseline. The artifacts may still be there, but at least you are looking at the repair file rather than a delivery copy that has been squeezed again.
Use the same sample rate when possible. If the session is 44.1 kHz, keep the repair export there unless you have a real reason to change it. If it is 48 kHz, do the same. Changing sample rate during inspection can create small differences that distract from the actual question: did the repair reduce the audible problem without damaging the music?
Look at silence and fades first
The quickest place to learn from a WAV spectrogram is often not the loud chorus. Look at the silence before the song, gaps before a vocal line, reverb tails, and the final fade. These areas show the noise floor with less musical masking. A clean fade should usually fall away in a believable shape. A constant high band through a silent gap may point to hiss. A low horizontal smear may point to rumble or a generated room tone that the mix does not need.
This does not mean silence must be black. Real masters breathe a little, and some music deliberately carries tape color, vinyl-like texture, or room tone. The practical check is whether the noise belongs to the track. If the verse feels fine but the gap before it exposes a sharp synthetic hiss, you have a target. If the noise is part of the mood and disappears under the arrangement, heavy denoise may do more harm than good.
Fades are good over-cleaning detectors. After denoise, watch whether the tail turns blotchy or collapses too quickly. Then listen. If a reverb tail now pumps, chirps, or feels shaved off, the spectrogram has helped you catch a repair that went too far. The image is useful because it points to the moment where your ears should be suspicious.
Spot clipped or brick-shaped sections
A WAV spectrogram can make heavy limiting obvious. A chorus that looks like a solid bright block is not automatically ruined, but it asks for a careful listen. If the waveform is pinned flat and the spectrogram shows constant dense energy with no real gaps, the track may be fatiguing because the master has nowhere to move. In AI music, that can expose artifacts that were less annoying before loudness processing.
Clipping often shows up as harshness before it shows up as a neat visual lesson. You may see extra high-frequency energy around transients, but the better test is still audible: do snares spit, do vocal peaks scratch, does the hook become tiring after twenty seconds? If yes, the repair path may be gain staging, softer limiting, or returning to a pre-master version rather than trying to paint out marks in the spectrogram.
Look for sudden vertical lines too. A single full-range spike can be a click, edit point, or export glitch. If it lands exactly where you hear a tick, a targeted repair is reasonable. If it appears under a normal drum hit, leave it alone unless the sound is actually wrong. The same shape can mean damage in one context and music in another.
Compare before and after with the same settings
Before-after comparison is where a WAV spectrogram becomes practical. Open the same part of the song, use the same zoom, keep the same window size, and avoid changing the color scale just because one image looks more dramatic. A repair that only wins after you change display settings has not really earned trust. The more boring the comparison setup, the more useful the result.
| Repair question | What to compare | Warning sign |
|---|---|---|
| Was hiss reduced? | Silent gaps and quiet verse lines | Vocal breath disappears with the noise |
| Was a click fixed? | The exact transient timestamp | The click is gone but the drum attack is dented |
| Did mastering add fatigue? | Chorus density before and after limiting | The image is solid and the hook feels scratchy |
| Did export change the file? | Repair WAV against delivery copy | New cutoff or smear appears only after conversion |
Keep the repaired WAV as the reference, not the screenshot. Screenshots are helpful for notes, but the audio file is the thing you may need to revisit. Name versions clearly: before repair, light denoise, click repair, pre-master, final master. When a later choice goes wrong, you can step back without guessing which pretty image belonged to which file.
When the spectrogram looks fine but the track still hurts
Sometimes the WAV spectrogram looks reasonable and the track still feels bad. That is normal. Listening fatigue can come from balance, arrangement density, vocal harshness, stereo width, or a limiter working too hard. Not every painful mix problem draws a dramatic mark. A spectrogram is better at showing time-frequency energy than judging musical comfort.
When that happens, move back to listening tests. Lower the volume and check whether the vocal still pokes. Play the chorus on headphones, then on small speakers. Compare the repaired version with the version before mastering. If the harshness appears only after the limiter, do not hunt for a missing visual clue in the WAV spectrogram. Fix the chain that created the fatigue.
The best use of wav to spectrogram work is restraint. Use WAV to avoid extra codec confusion. Inspect silence, fades, transients, dense choruses, and before-after repairs. Then stop staring and listen to the song in motion. If the repair makes the problem less noticeable and leaves the track with air, punch, and clear words, the spectrogram has given you enough information.