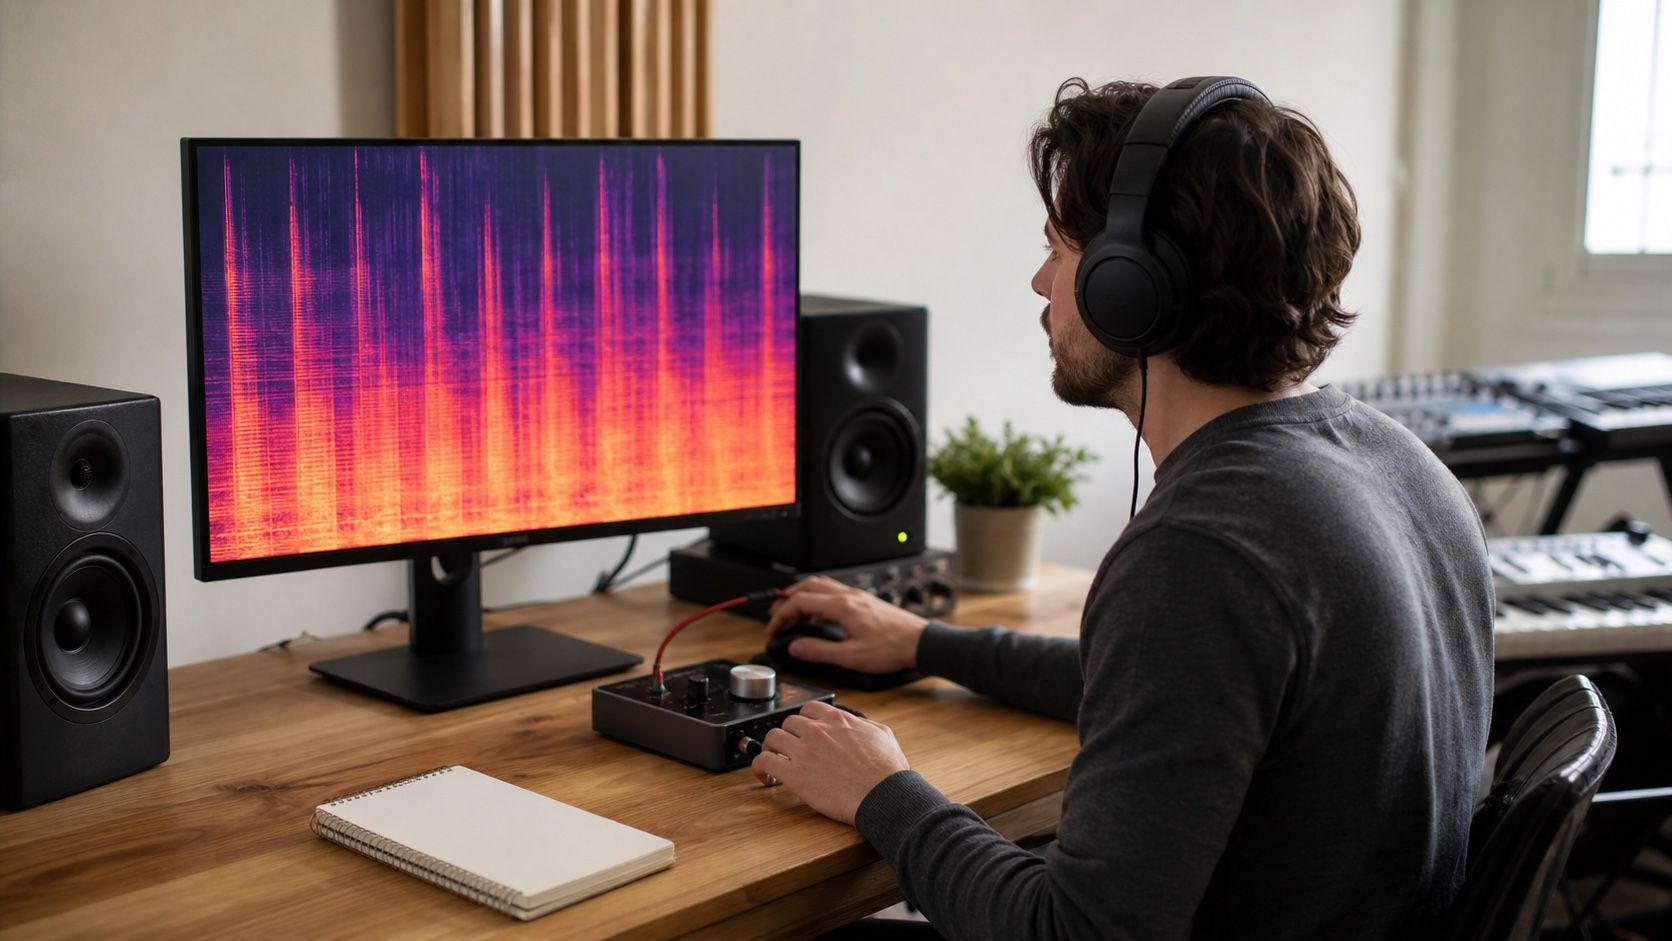
An online audio spectrogram is handy when you need a fast look at a noisy vocal, a brittle AI chorus, or an export that seems damaged after conversion. The danger is trusting the image before you understand how the tool made it. Browser tools can use different FFT settings, color scales, upload rules, and file handling habits, so the same piece of audio can look more broken or more harmless depending on the page you used.
Online tools are convenient but not identical
The phrase audio to spectrogram online sounds like one job, but online tools do not all do the same job. One tool may draw a quick low-resolution image for casual inspection. Another may allow window size, frequency scale, and color range. A third may compress the preview or downsample the audio before display. That does not make the tool useless, but it changes how much confidence you should place in the result.
For music repair, convenience is usually enough for the first pass. If I only need to find a click near 1:13 or check whether a high-frequency hiss band appears through the whole second verse, a simple sound to spectrogram view can save time. If the issue is subtle, such as metallic shimmer around a vocal or a small noise floor change after denoise, the tool needs more care. A rough image can still point in the right direction, but it should not be the final judge.
I also look at how quickly the tool lets me repeat the same view. Repair work is comparison work. If you cannot reopen the same file, same zoom, same range, and same display settings, the image becomes hard to trust. A beautiful one-off screenshot is less valuable than a plain view that can be recreated after each processing move.
Check file handling before uploading
Before uploading audio, check what the page says about file handling. Some browser audio tools process locally in the browser. Some upload the file to a server. Some do not explain much at all. For a personal draft, that may be a small concern. For client material, unreleased songs, paid stems, or private vocals, it matters. A repair workflow should not casually send sensitive audio to an unknown service just because the spectrogram button is convenient.
File size limits can also affect the result. A tool that accepts only a short clip may force you to trim the audio, which is fine if you document the exact section. A tool that rejects WAV and accepts only MP3 may add compression marks before you even inspect the problem. If you are checking a Suno export for shimmer, hiss, or clicks, it is better to know whether the image reflects the original file or a converted preview.
| Check | Why it matters | Safer habit |
|---|---|---|
| Local or uploaded processing | Private audio may leave your machine | Use local processing for sensitive files |
| Accepted formats | MP3 previews can add codec patterns | Use WAV for subtle repair checks |
| FFT and color controls | Defaults can exaggerate or hide problems | Keep settings unchanged between versions |
| Image export | Screenshots are easy to mix up | Name exports with file version and timestamp |
Match settings when comparing versions
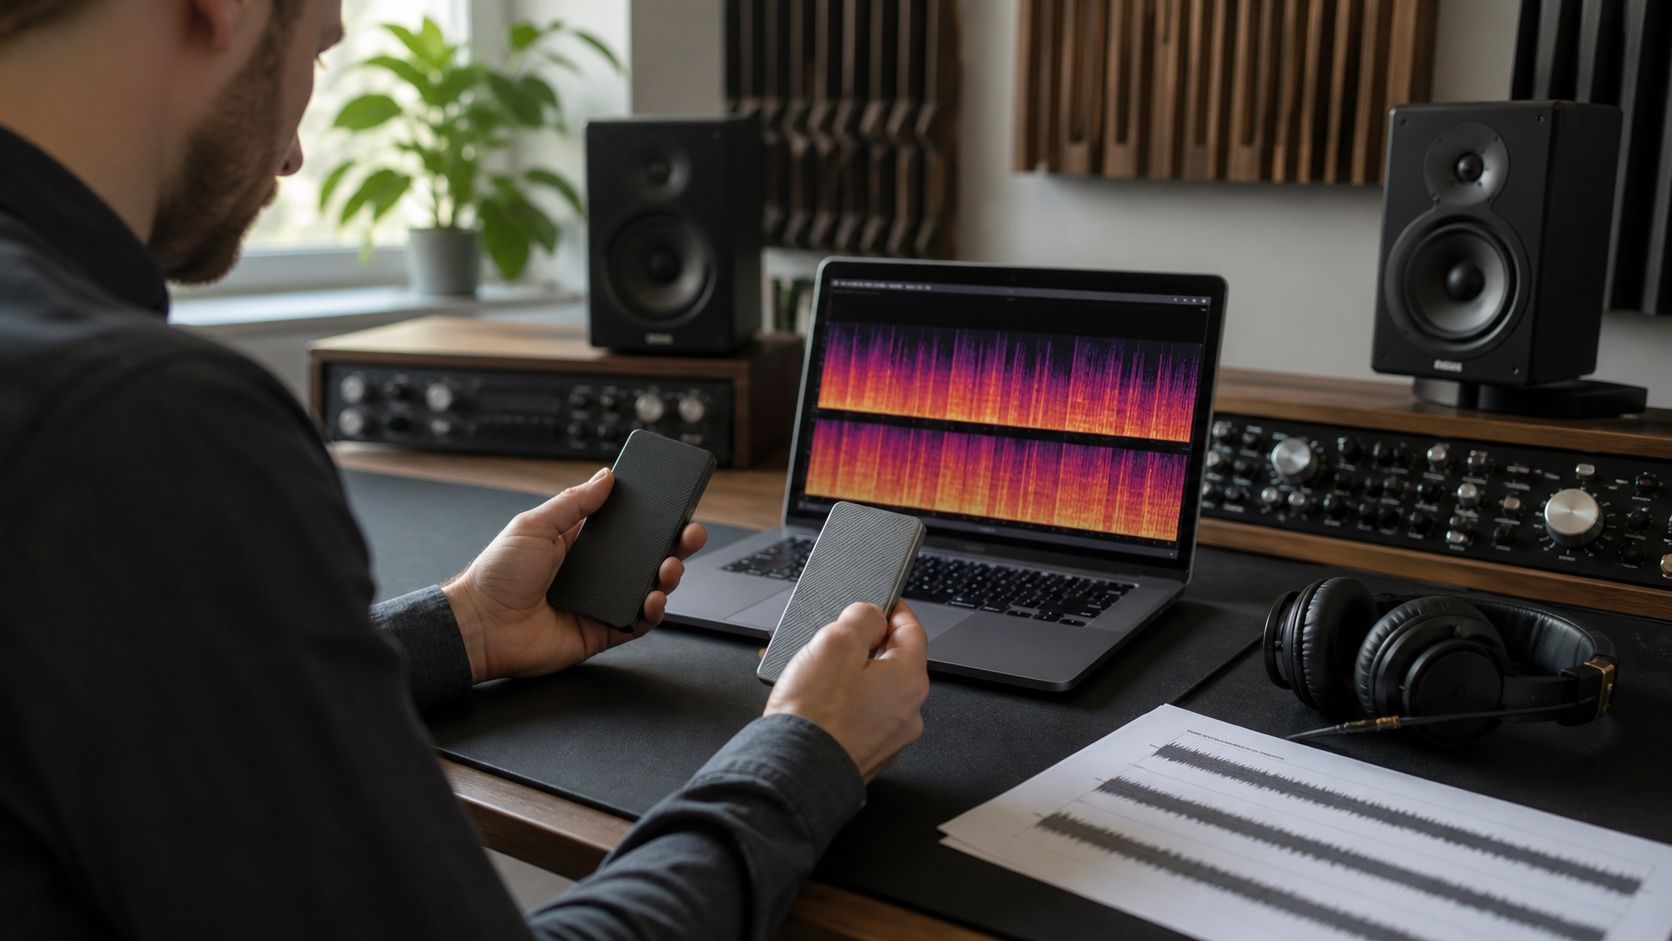
The most common mistake is comparing two screenshots made with different settings. One image uses a brighter color scale, the other uses a different window size, and suddenly the repaired file looks cleaner even though the change is mostly display behavior. If the goal is to compare before and after repair, lock the view as much as the tool allows.
Use the same section of audio, preferably with a clear timestamp range. Keep the same zoom level. Use the same frequency range and scale. If the tool lets you choose FFT size or window size, do not change it halfway through the comparison. If it does not show those settings, make a note that the check is only a rough visual guide. That note is not bureaucracy; it saves you from making a processing decision based on a mismatched picture.
Listening should stay attached to the image. When a repaired chorus looks smoother, play it without staring at the screen. Does the vocal still have consonants? Do cymbals still move? Did the low end lose punch? A spectrogram can show that something changed, but it cannot tell you whether the song still feels alive. In AI music repair, over-cleaning often looks tidy before it sounds wrong.
Use WAV when the issue is subtle
MP3 can be fine for a quick check, especially when the defect is obvious. A loud click, a missing chunk, or a constant buzz will usually show up either way. For subtle work, WAV is the better inspection file because it avoids extra lossy compression patterns. A WAV file does not magically prove that the recording is perfect, but it gives the spectrogram fewer distractions.
This matters with AI-generated music because the artifacts can live in the same area as normal codec damage. Metallic top end, smeared cymbals, watery vocal tails, and thin high-frequency bands can all be made harder to judge after conversion. If you inspect an MP3, you may end up blaming the generator for a mark that came from export settings. If you inspect the cleanest available WAV, the repair decision is usually less muddy.
Keep the version chain short. Original export, repair working file, repaired WAV, delivery copy. When every check passes through another converter, the online audio spectrogram becomes a diary of the export chain rather than a view of the musical problem. That is fine if you are checking delivery damage. It is not fine if you are trying to decide where to repair the mix.
Keep screenshots tied to the audio version
Screenshots are useful only when you can trace them back to the exact audio. Name them plainly: song-title-before-repair-chorus-1-05, song-title-after-denoise-chorus-1-05, and so on. If you export an image from the spectrogram tool, include the file version and the time range in the name. The point is not to build a museum of pictures; it is to avoid guessing later.
For a small repair session, I keep one note with the audible problem, the file version, the spectrogram settings if available, and the processing move. A line such as high hiss reduced 2 dB above the chorus is more useful than a folder full of unnamed images. When the next repair makes the track worse, that note gives you a clean way back.
An online spectrogram is best used as a quick inspection bench. It can help you spot obvious clicks, compare a repaired version, and communicate where a noise band sits. It should not become a privacy risk, a fake precision tool, or a reason to process audio you have not properly heard. Trust the image more when the tool is transparent, the settings match, and the listening test agrees.