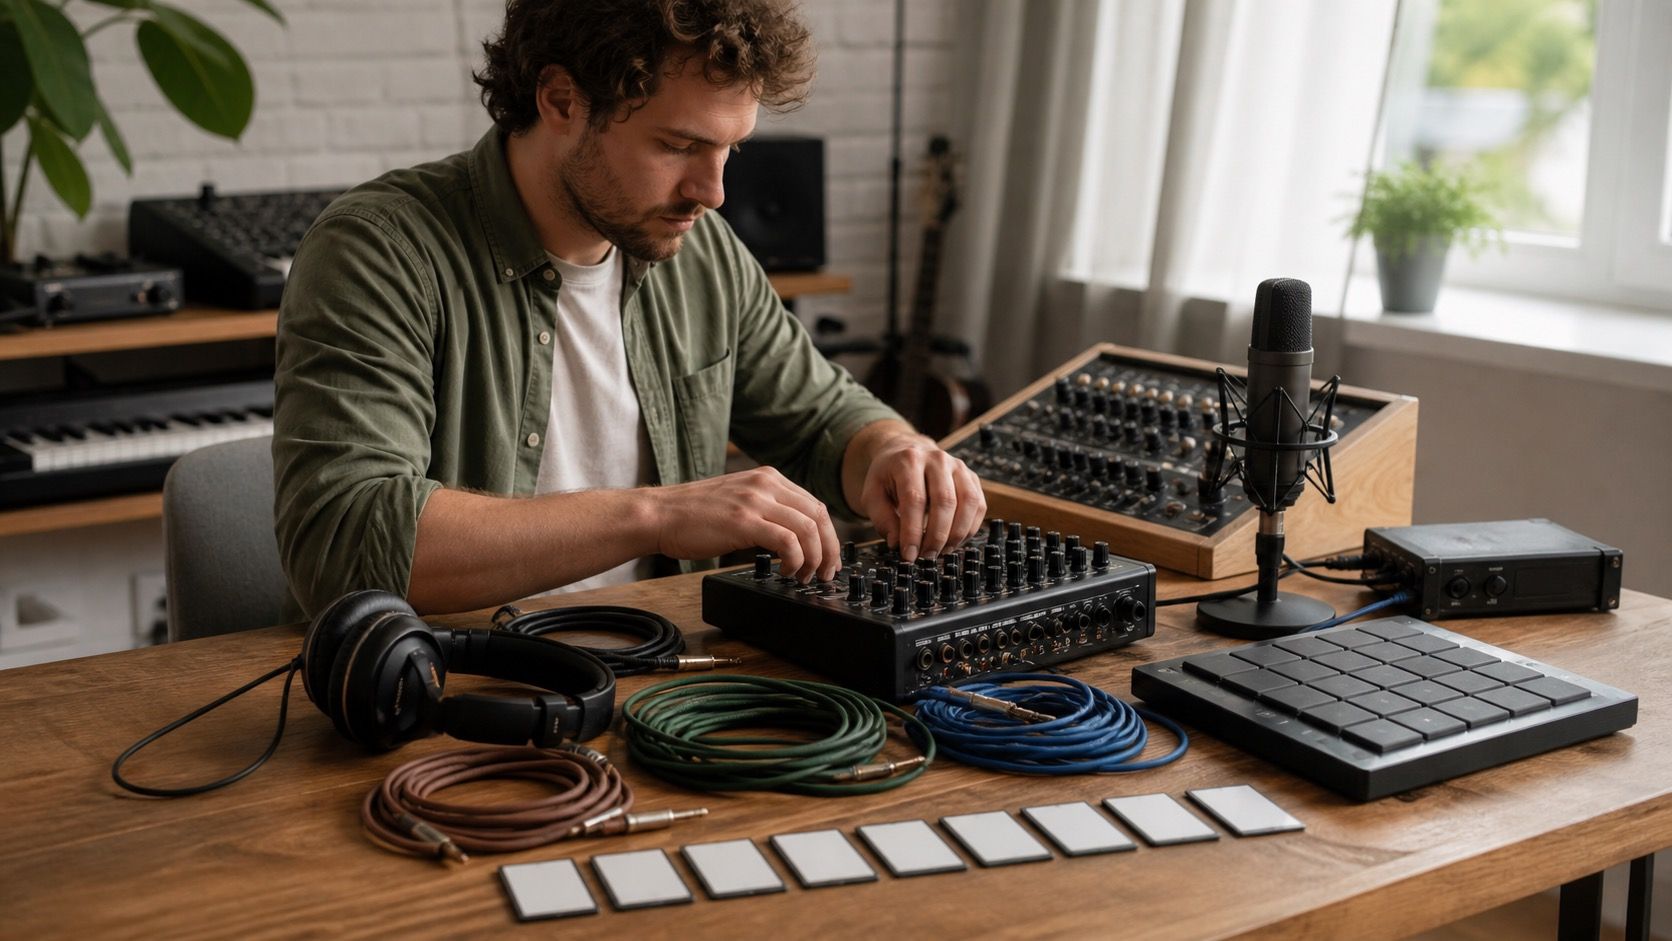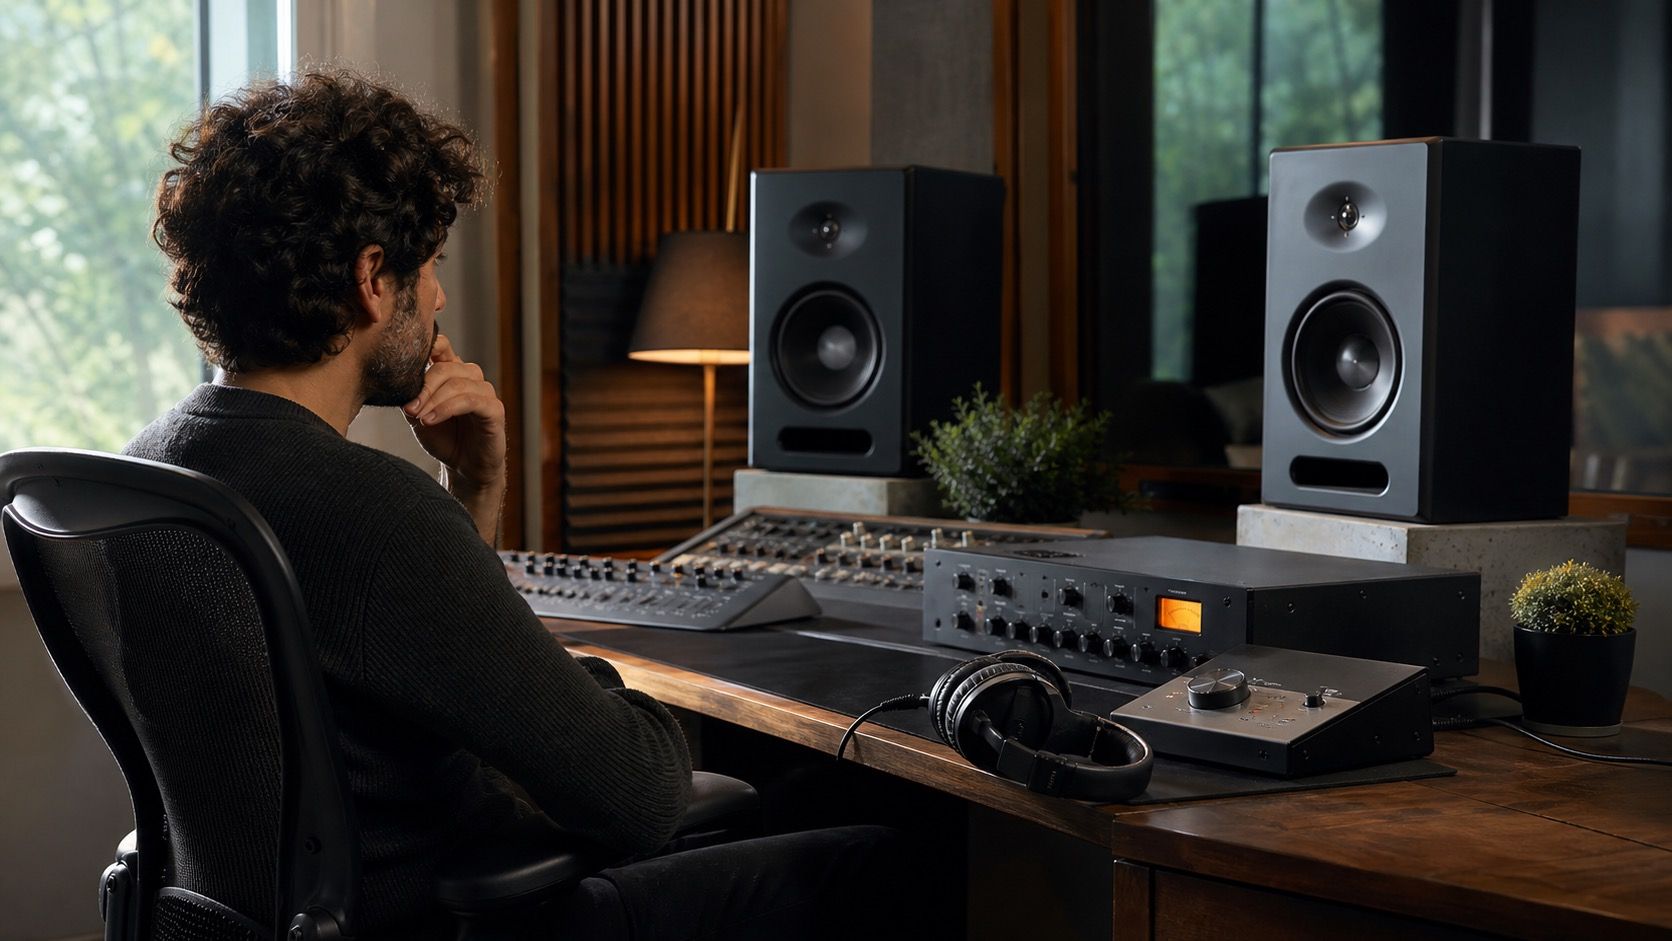
Suno mastering works best after the ugly repair decisions are already finished: clicks trimmed, harsh vowels softened, humming reduced, and strange high-end shimmer made less distracting. The mastering pass should not rescue the whole song; it should make a repaired mix translate cleanly, keep the emotion intact, and avoid pushing hidden artifacts forward with gain, compression, or limiting.
Master only after the repair pass
The first step is a boring one: print a repaired mix that peaks well below clipping and listen to it before adding mastering processors. If a vocal phrase still wobbles, a cymbal wash still sounds metallic, or a bass note blooms into the vocal range, mastering will usually make that problem easier to hear. A limiter raises quiet flaws along with the chorus, and bright EQ can turn a small hiss into a constant glare.
I like to leave roughly 6 dB of headroom on the repaired mix bus, not because that number is magic, but because it keeps decisions readable. With enough headroom, a compressor reacts to the music instead of fighting clipped transients. Gain staging also helps when you compare versions: the repaired mix, the tonal-balance pass, and the limited master can be matched by ear without being fooled by volume.
Before touching the master chain, make a short defect list. Mark one section where the vocal is most exposed, one loud chorus, one dense transition, and one fade or reverb tail. Those four spots catch most AI music repair mistakes. If they survive at moderate volume on headphones and small speakers, the track is ready for suno mastering decisions.
Keep the limiter from exposing artifacts
A limiter is the place where a decent repair can suddenly sound brittle. Push too hard and the quiet metallic edge behind a vocal becomes part of the hook. Set the ceiling too high and inter-sample peaks can appear after conversion. Use the limiter as the last loudness step, not as a tone shaper, and move into it gradually: small bus compression, tiny EQ correction, then limiting.
For many repaired AI tracks, the safer ceiling sits around -1 dBTP, with gain added until the chorus feels solid but not pinned. The exact LUFS number depends on the song and delivery need, so I avoid chasing a single target. What matters is whether the kick still breathes, whether consonants stay clean, and whether the loudest section returns to silence without crunchy tails. If the limiter gain makes the spectrogram fill with constant high-frequency fuzz, the master is too aggressive or the repair was not finished.
| Mastering move | Useful check | Warning sign |
|---|---|---|
| Input gain | Chorus lifts without clipping the mix bus | Artifacts become louder before any tone work |
| EQ shelf | Air returns to vocals and cymbals | Hiss and shimmer become continuous |
| Bus compression | Groove feels connected at low ratio | Breaths, noise, and room tone pump |
| Limiter | Peaks are controlled with stable loudness | Drums lose attack and vocals turn grainy |
Use references without copying them
Reference listening is useful when it keeps the mastering workflow honest. Pick one commercial track for low-end balance, one for vocal brightness, and one for overall density. Level-match them before judging. A reference that is two decibels louder will seem clearer, wider, and more exciting even when it is only louder.
The goal is not to copy a master. A Suno export may have a different vocal texture, less predictable transient shape, and more synthetic ambience than the reference. Instead, ask practical questions. Is the bass controlled or just small? Are the vocals forward enough at quiet playback? Does the snare still cut through after limiting? Is the top end open, or is it simply noisy? These questions keep the comparison tied to repair quality.
When a reference makes the repaired track feel dull, resist the first big treble boost. Try removing low-mid cloud around 200-400 Hz, easing harsh resonances near the vocal, or using a gentler high shelf after de-essing. That order keeps the song from becoming bright in the wrong way. A clean master should feel clearer, not thinner.
Check loudness on the chorus and the quiet part
Loudness should be checked in two places: the most crowded chorus and the quietest meaningful part. The chorus tells you whether the limiter is crushing transients, smearing cymbals, or dragging up repaired noise. The quiet section tells you whether noise reduction has left a hollow floor, whether reverb tails chatter, and whether the vocal remains intelligible without the energy of the full arrangement.
I do one pass at comfortable volume, then another at a low level where the song is almost background sound. At low level, bad masters reveal themselves quickly. The vocal sinks, the bass disappears, or the high end keeps scratching even when the track should feel easy. That low-volume check is especially helpful for AI tracks because artifacts can be tiring before they are obviously loud.
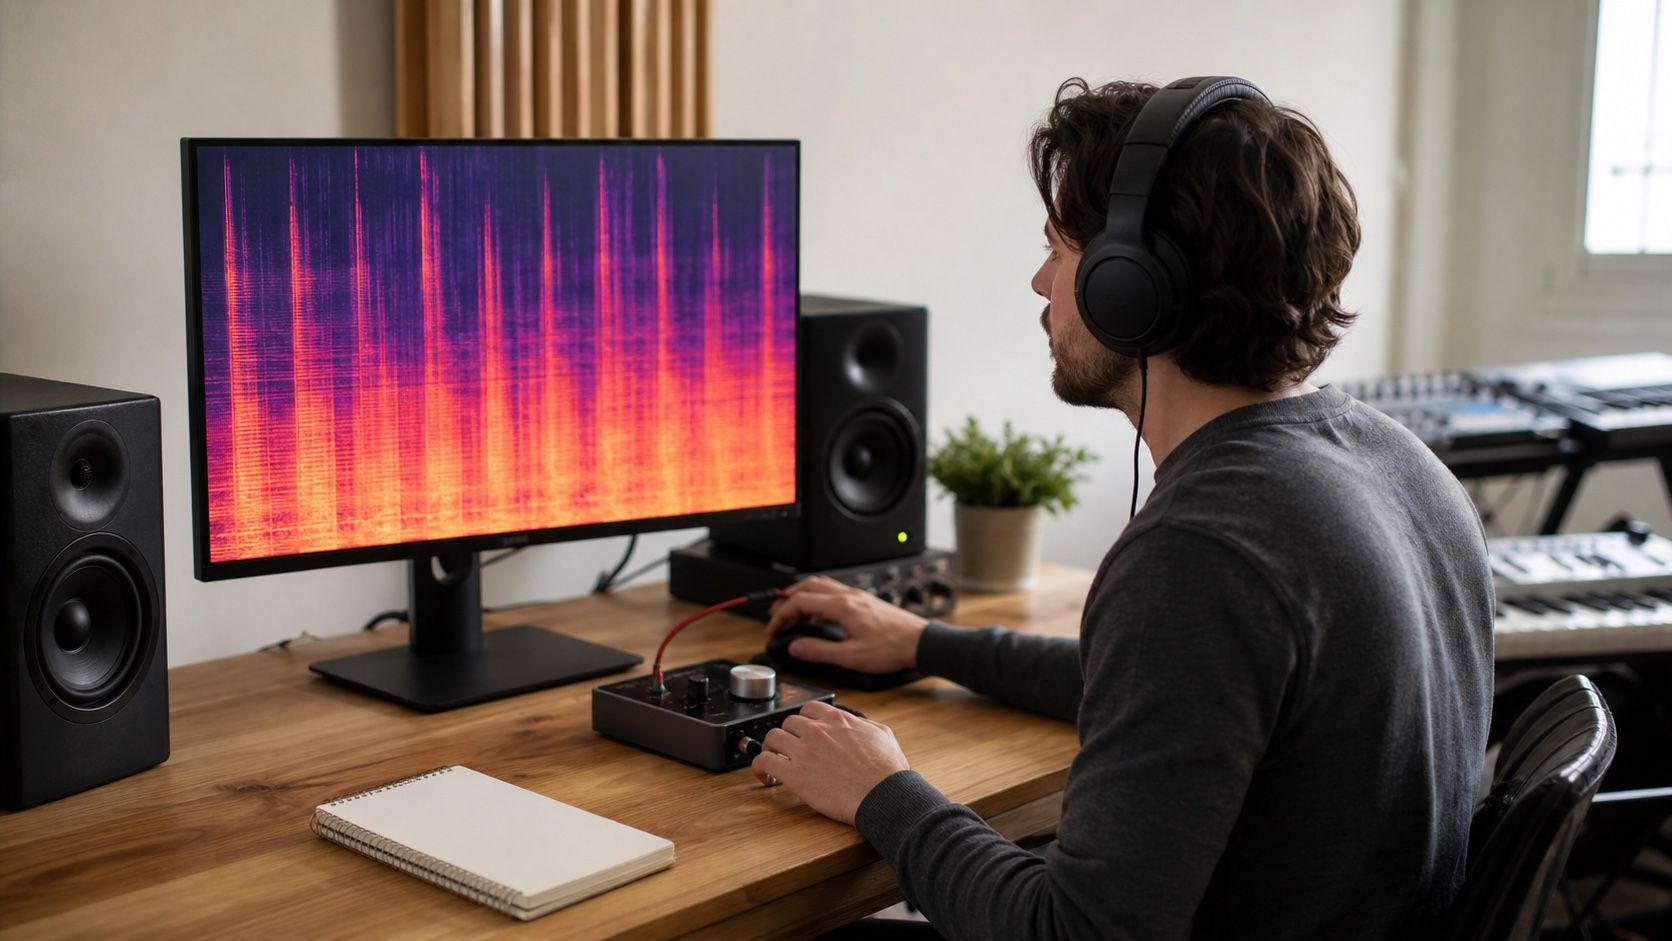
A spectrogram can support the decision, but it should not replace listening. Look for clipped horizontal blocks, sudden high-frequency bands that appear only after limiting, or a dense carpet of energy during sections that should be sparse. If the picture changes dramatically while the audible improvement is small, undo the move and solve the problem earlier in the chain.
Export one clean master and one safer version
Export prep should preserve choices instead of locking you into one loud file. Print one clean master at the intended loudness, and also print a safer version with a little less limiter gain. The safer version is useful when a platform conversion, video editor, or later stem edit makes the louder file feel hard. Label both with the date, sample rate, bit depth, and limiter ceiling so you know what was actually delivered.
For an archive master, WAV or FLAC is the sensible choice because it avoids extra lossy compression. MP3 can be fine for quick sharing, but it should not be the only final copy. If the song may be edited again, keep the repaired mix, the pre-limiter master, and the final master. That small file discipline saves time when one chorus suddenly needs a softer vocal or a different loudness pass.
The best mastering result is not the loudest Suno file you can make. It is the version where the repair stays invisible, the chorus keeps its shape, and the export can survive normal listening without fatigue. If the master makes you notice the processing, step back to gain staging, lighten the limiter, and fix the specific defect instead of pushing the whole track harder.