Trying to remove Suno artifacts is less about hunting every strange texture and more about protecting the parts of the song that already work. The repair should make the vocal easier to trust, the cymbals less sandy, and the drums clearer without turning the whole mix into a smooth, lifeless file.
Name the artifact before you process it
The most common mistake is opening a denoise tool before naming the sound. Suno artifacts can be metallic edges on consonants, warbling vowels, smeared cymbals, low humming, flutter around sustained synths, or a strange glassy layer that appears only when the chorus gets busy. These defects do not all respond to the same treatment.
I usually loop ten to fifteen seconds around the problem and describe it in ordinary listening language first. Is it sharp, watery, buzzy, hollow, phasey, or dull? Does it sit on the vocal, the hi-hat, the reverb tail, or the whole mix bus? If the problem disappears when the vocal pauses, do not process the entire instrumental. If it follows the cymbals, do not blame the lead line.
This little diagnosis step saves more time than it costs. It keeps ai audio artifact removal focused on the smallest area that needs help. It also makes before-after checking honest, because you know exactly what you were trying to improve.
Repair the top end in small moves
The top end is where many Suno artifacts become obvious. A track may have a constant silvery fizz above the vocal, cymbals that smear into white noise, or S sounds that jump out of the speakers. Heavy broadband reduction can make these problems quieter, but it can also remove the air that makes the record feel open.
Start with small moves. A narrow dynamic EQ band can catch a whistle without darkening the whole mix. A light de-esser can calm consonants if the vocal is the real source. A gentle high shelf down by a small amount can be safer than a dramatic denoise pass when the artifact is spread across the arrangement. The goal is not to make the analyzer look tidy. The goal is to stop the listener from noticing the synthetic edge.
Use volume matching after every change. Louder almost always seems clearer, and darker often seems cleaner for the first minute. Match the repaired and original versions closely, then listen to the line that bothered you. If the artifact is reduced but the vocal loses emotion, back off. That trade usually gets worse after mastering.
Keep drum hits alive
Drums reveal over-cleaning quickly. A repair process that sounds fine on a solo vocal may soften the kick click, shorten the snare, or turn hi-hat motion into a flat wash. In AI music artifact removal, the danger is not only leaving artifacts behind. It is removing the tiny transients that tell the ear the track is moving.
Check drum repair at the loudest section, not only in the intro. Dense Suno choruses can hide smeared cymbals behind guitars, pads, and backing vocals. If the kick feels late or the snare loses its front edge after processing, the chain is probably reacting too broadly. Try less reduction, a narrower target, or a split approach where the vocal problem is handled separately from the full mix.
Do not trust solo mode for the final call. A repaired cymbal can sound ugly alone and perfectly fine inside the song. A beautiful isolated snare can be too sharp once the vocal returns. The mix is the judge, especially when the original export already has baked-in compression.
Use a spectrogram as a warning light
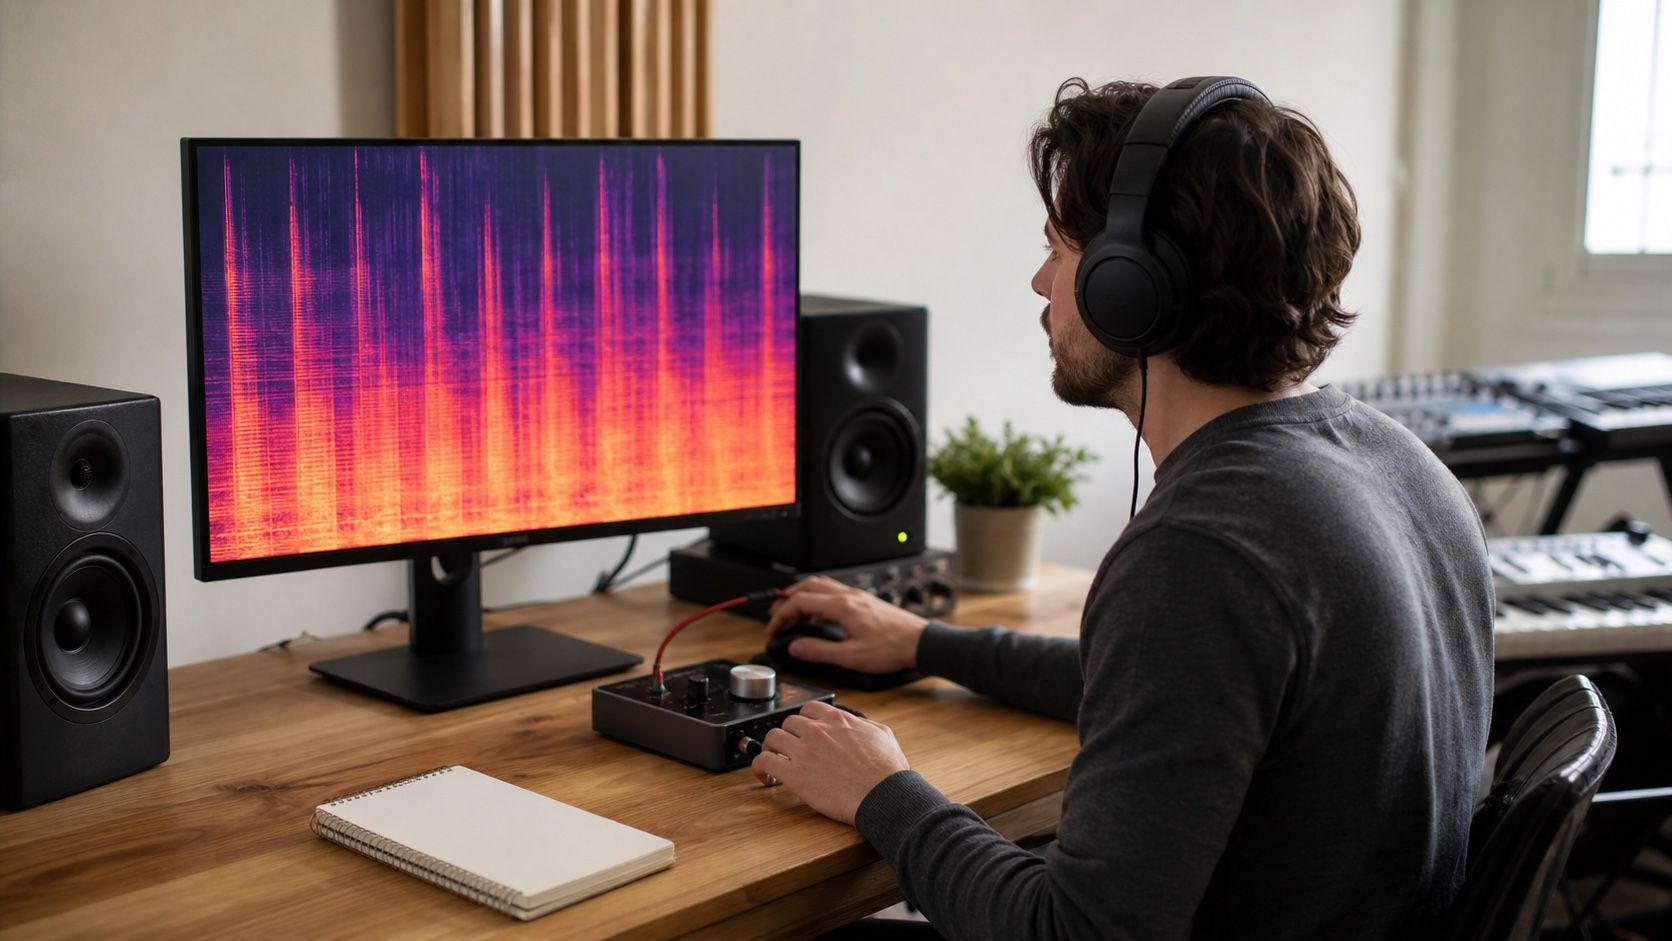
A spectrogram is useful because it shows patterns the ear may stop noticing. Steady horizontal lines can point to whistles or hum. Vertical smears can show softened drum hits. Dense bright clouds around every chorus may confirm why the track feels tiring. But the picture should support listening, not replace it.
When I inspect Suno artifacts visually, I look for sections where the image changes while the music does not justify the change: a bright stripe that appears under one vowel, a fuzzy block after a cymbal crash, or a low band that continues during a supposed break. Those clues tell me where to loop and what to test. They do not prove that the sound is bad by themselves.
The best spectrogram habit is to compare before and after at the same zoom. If the repair removes all texture from a vocal tail, the display may look cleaner while the phrase feels dead. If the cymbal band becomes smoother but the groove loses sparkle, the visual improvement is not worth much.
Stop before the track sounds sterile
The safest before-after check is done in small loops and then in a full pass. First loop the exact phrase, crash, or drum hit that started the repair. Then play thirty seconds before it and thirty seconds after it, because some artifacts only feel annoying when the arrangement changes around them. Finally, walk away for a few minutes and replay the chorus at a lower level. If the cleaned version still feels natural when it is not impressing you with volume, the move is probably honest.
Over-cleaning risk is real because Suno exports often include useful texture mixed with unwanted texture. A little roughness around a vocal can make it feel present. A small amount of high-frequency grain can help the chorus feel bright. If you remove every trace of artificial sound, you may also remove the energy that made the draft worth repairing.
A good stopping point is when the defect no longer pulls attention during normal listening. Do one focused before-after check on headphones, one on speakers, and one at low volume. If the repaired file wins in all three without sounding smaller, print it. If the original still feels more alive, reduce the strength or repair fewer moments.
Keep one untouched export and one repaired working file. That gives you a clean path back if mastering exposes a new problem. It also keeps the repair process humble. The aim is not to erase the origin of the track or pretend it came from a different recording chain. The aim is to make the song easier to hear from start to finish.